Databases
From the cPGuard X dashboard, click on Website, then go to Database.


- To create new database, Click on + Add Database and provide the required details:

- Database Name
- Username
- Password
- Privileges

- Then click Create.
While creating a database, you can assign user privileges as required. Alternatively, you can also modify or assign privileges after the database has been created.
To Update User Privileges
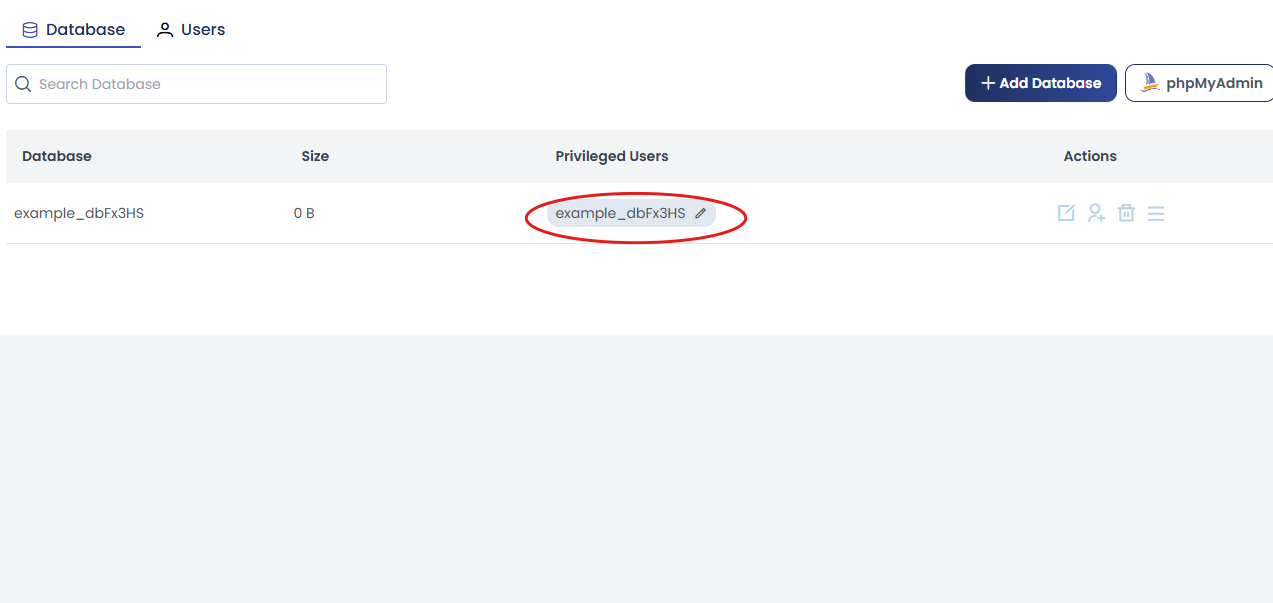
- Navigate to the database list.
- Click on the Edit icon next to the respective database/user (as shown in the image).
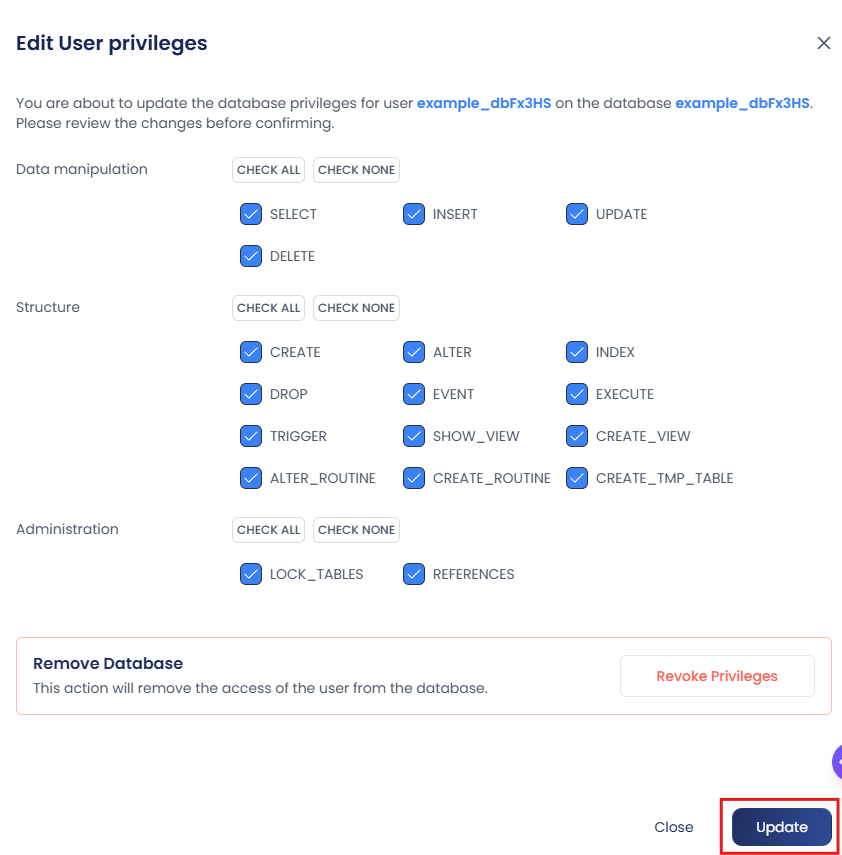
From here, you can:
- Modify user privileges
- Update access permissions
- Remove the user’s access to the database using the Remove Database option
After making the required changes, click on Update to apply them.
Database Actions
In the Actions section, you have multiple options to manage your database.
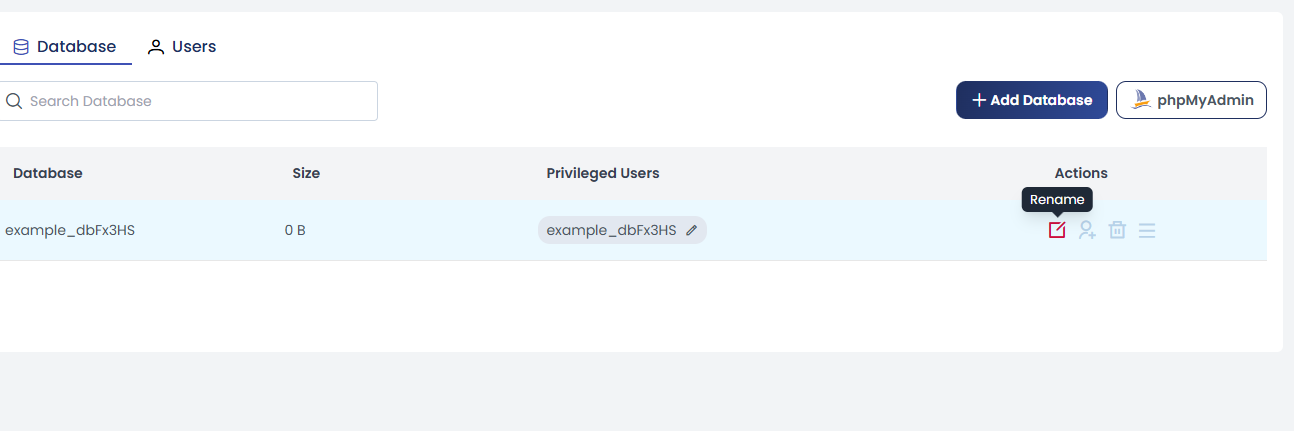
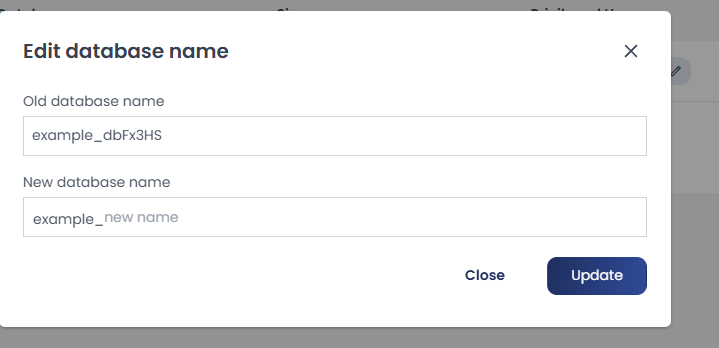
Rename Database
- Click on Rename
- A pop-up window will appear showing the current database name
- Enter the new name you prefer
- Click on Update to apply the changes
Assign User
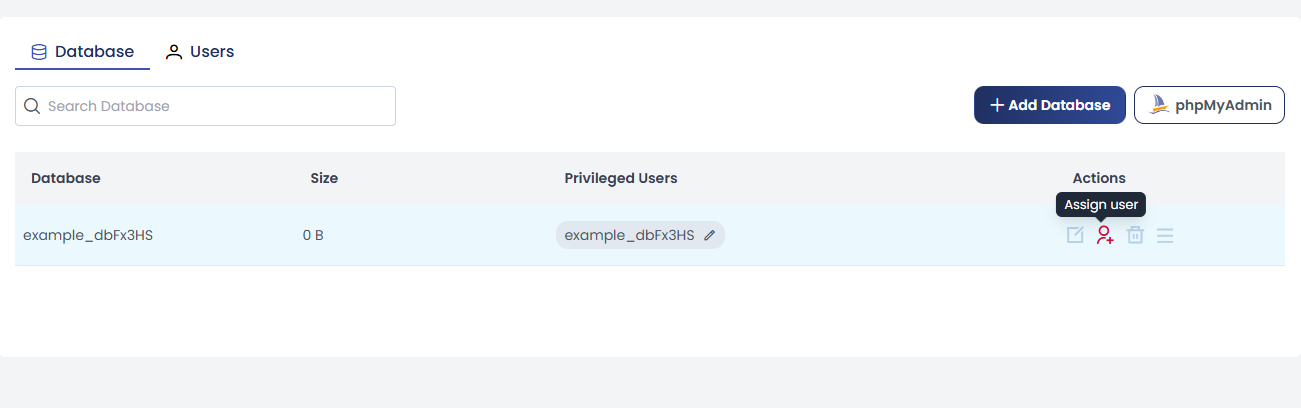
- Click on Assign User
- Select the user from the dropdown list
- Choose the required privileges
- Click on Assign to grant access

Delete Database

- Click on Delete
- A confirmation window will appear
- Click on Delete again to proceed

note
This action will permanently delete the database.
More Actions

Check Database
This option is used to verify the integrity of the database and detect any issues.
It is recommended when you notice performance issues or suspect database corruption.
- Click on Check
- Confirm by clicking Proceed in the confirmation window

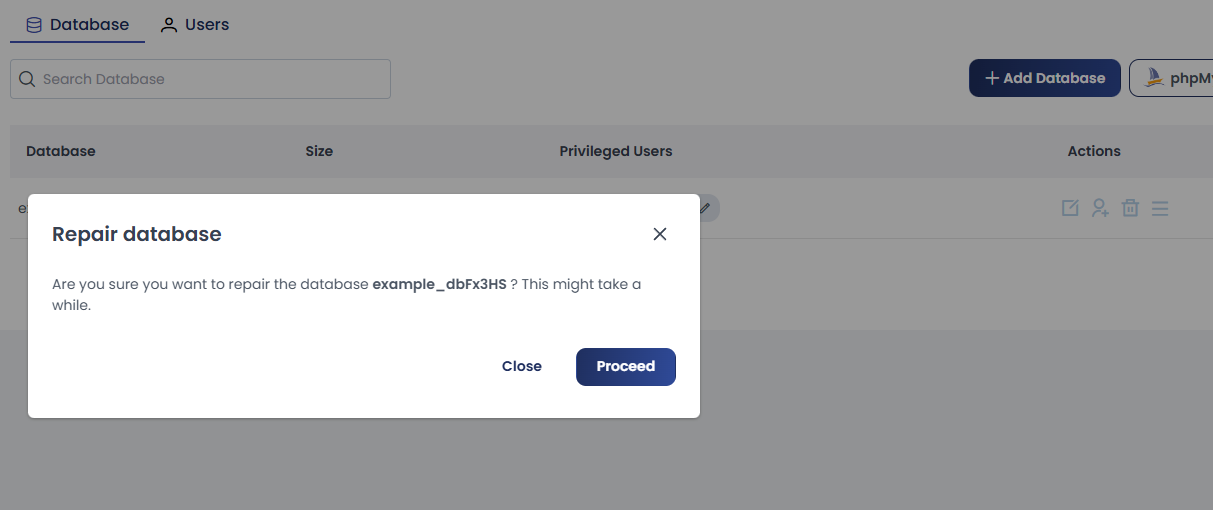
Repair Database
This option is used to fix corrupted or damaged database tables.
Use this when errors are detected or after running a database check.
- Click on Repair
- Confirm by clicking Proceed in the confirmation window